
Sharing my tips on making your own sprouts. It’s so easy to do at home and much cheaper than buying them at the store! Hi friends! How are you? I hope you’re having a lovely morning! I hope my US friends had an amazing 4th of July. Today I wanted to chat about something I’ve…
The post How to make sprouts at home appeared first on The Fitnessista.

Sharing my tips on making your own sprouts. It’s so easy to do at home and much cheaper than buying them at the store!
Hi friends! How are you? I hope you’re having a lovely morning! I hope my US friends had an amazing 4th of July.
Today I wanted to chat about something I’ve been making at home and enjoying for the past few months: sprouts!
So, what is sprouting and why would you do it?
Sprouting is the process of germinating seeds or grains, typically by soaking them in water and allowing them to grow into sprouts. This process has been used for centuries to make food more nutritious and easier to digest. In this blog post, I’m sharing the details on how to make sprouts at home and sharing some of the benefits of these tasty little sandwich and salad additions.
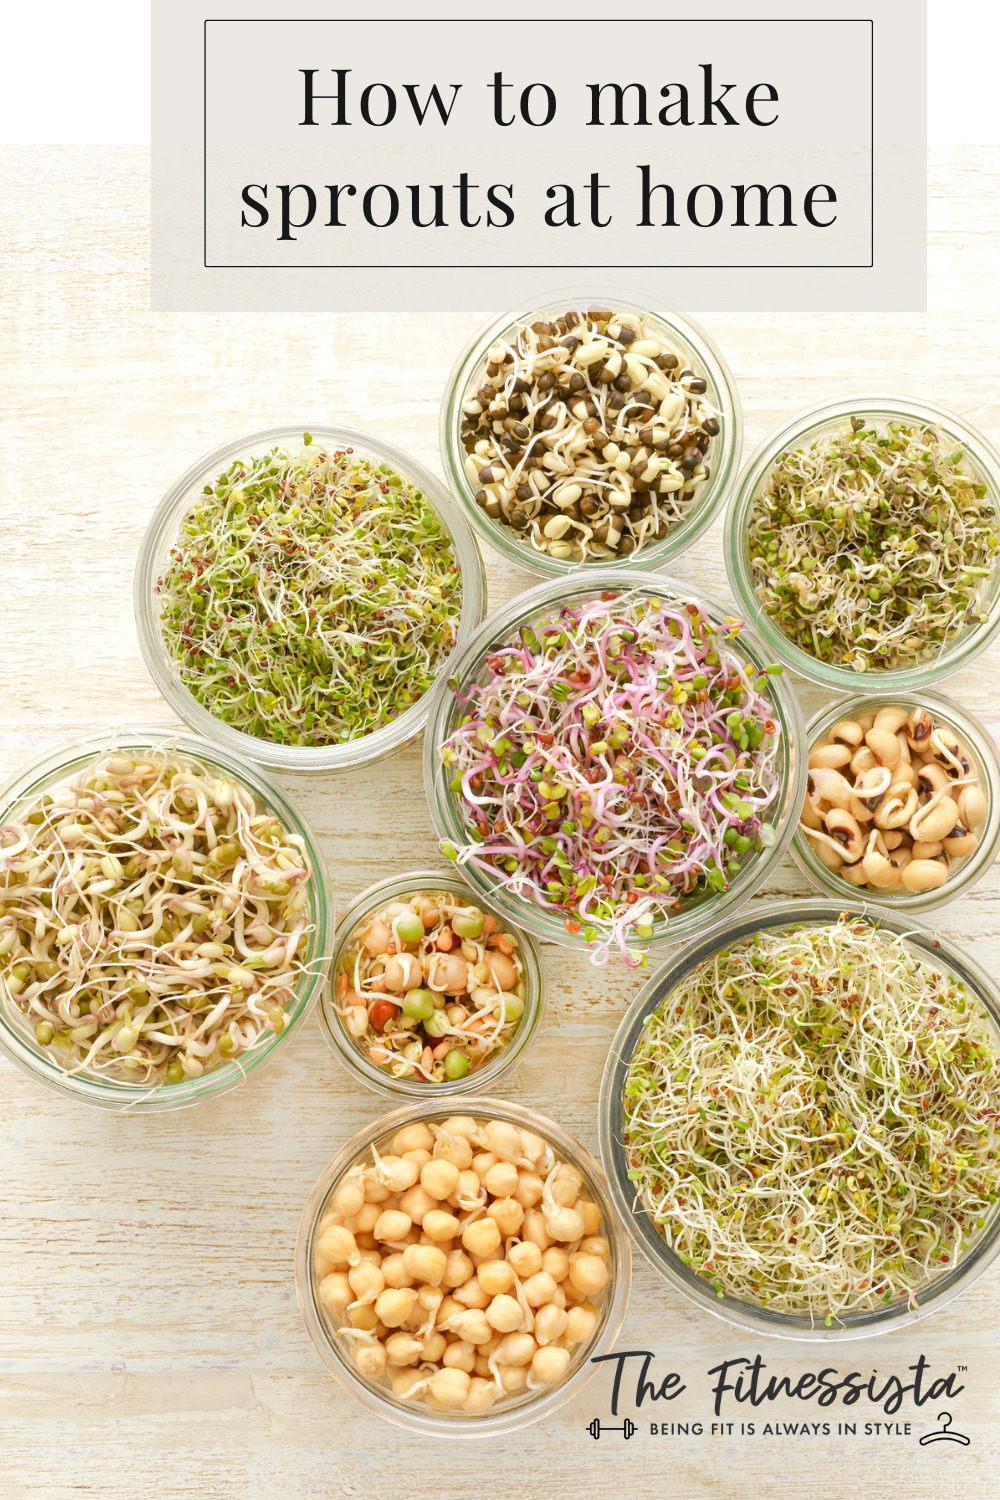
How to Make Sprouts at Home
Making sprouts at home is easy and requires minimal equipment. It only takes a few days and is so much less expensive than buying them at the store.
Here’s how to get started:
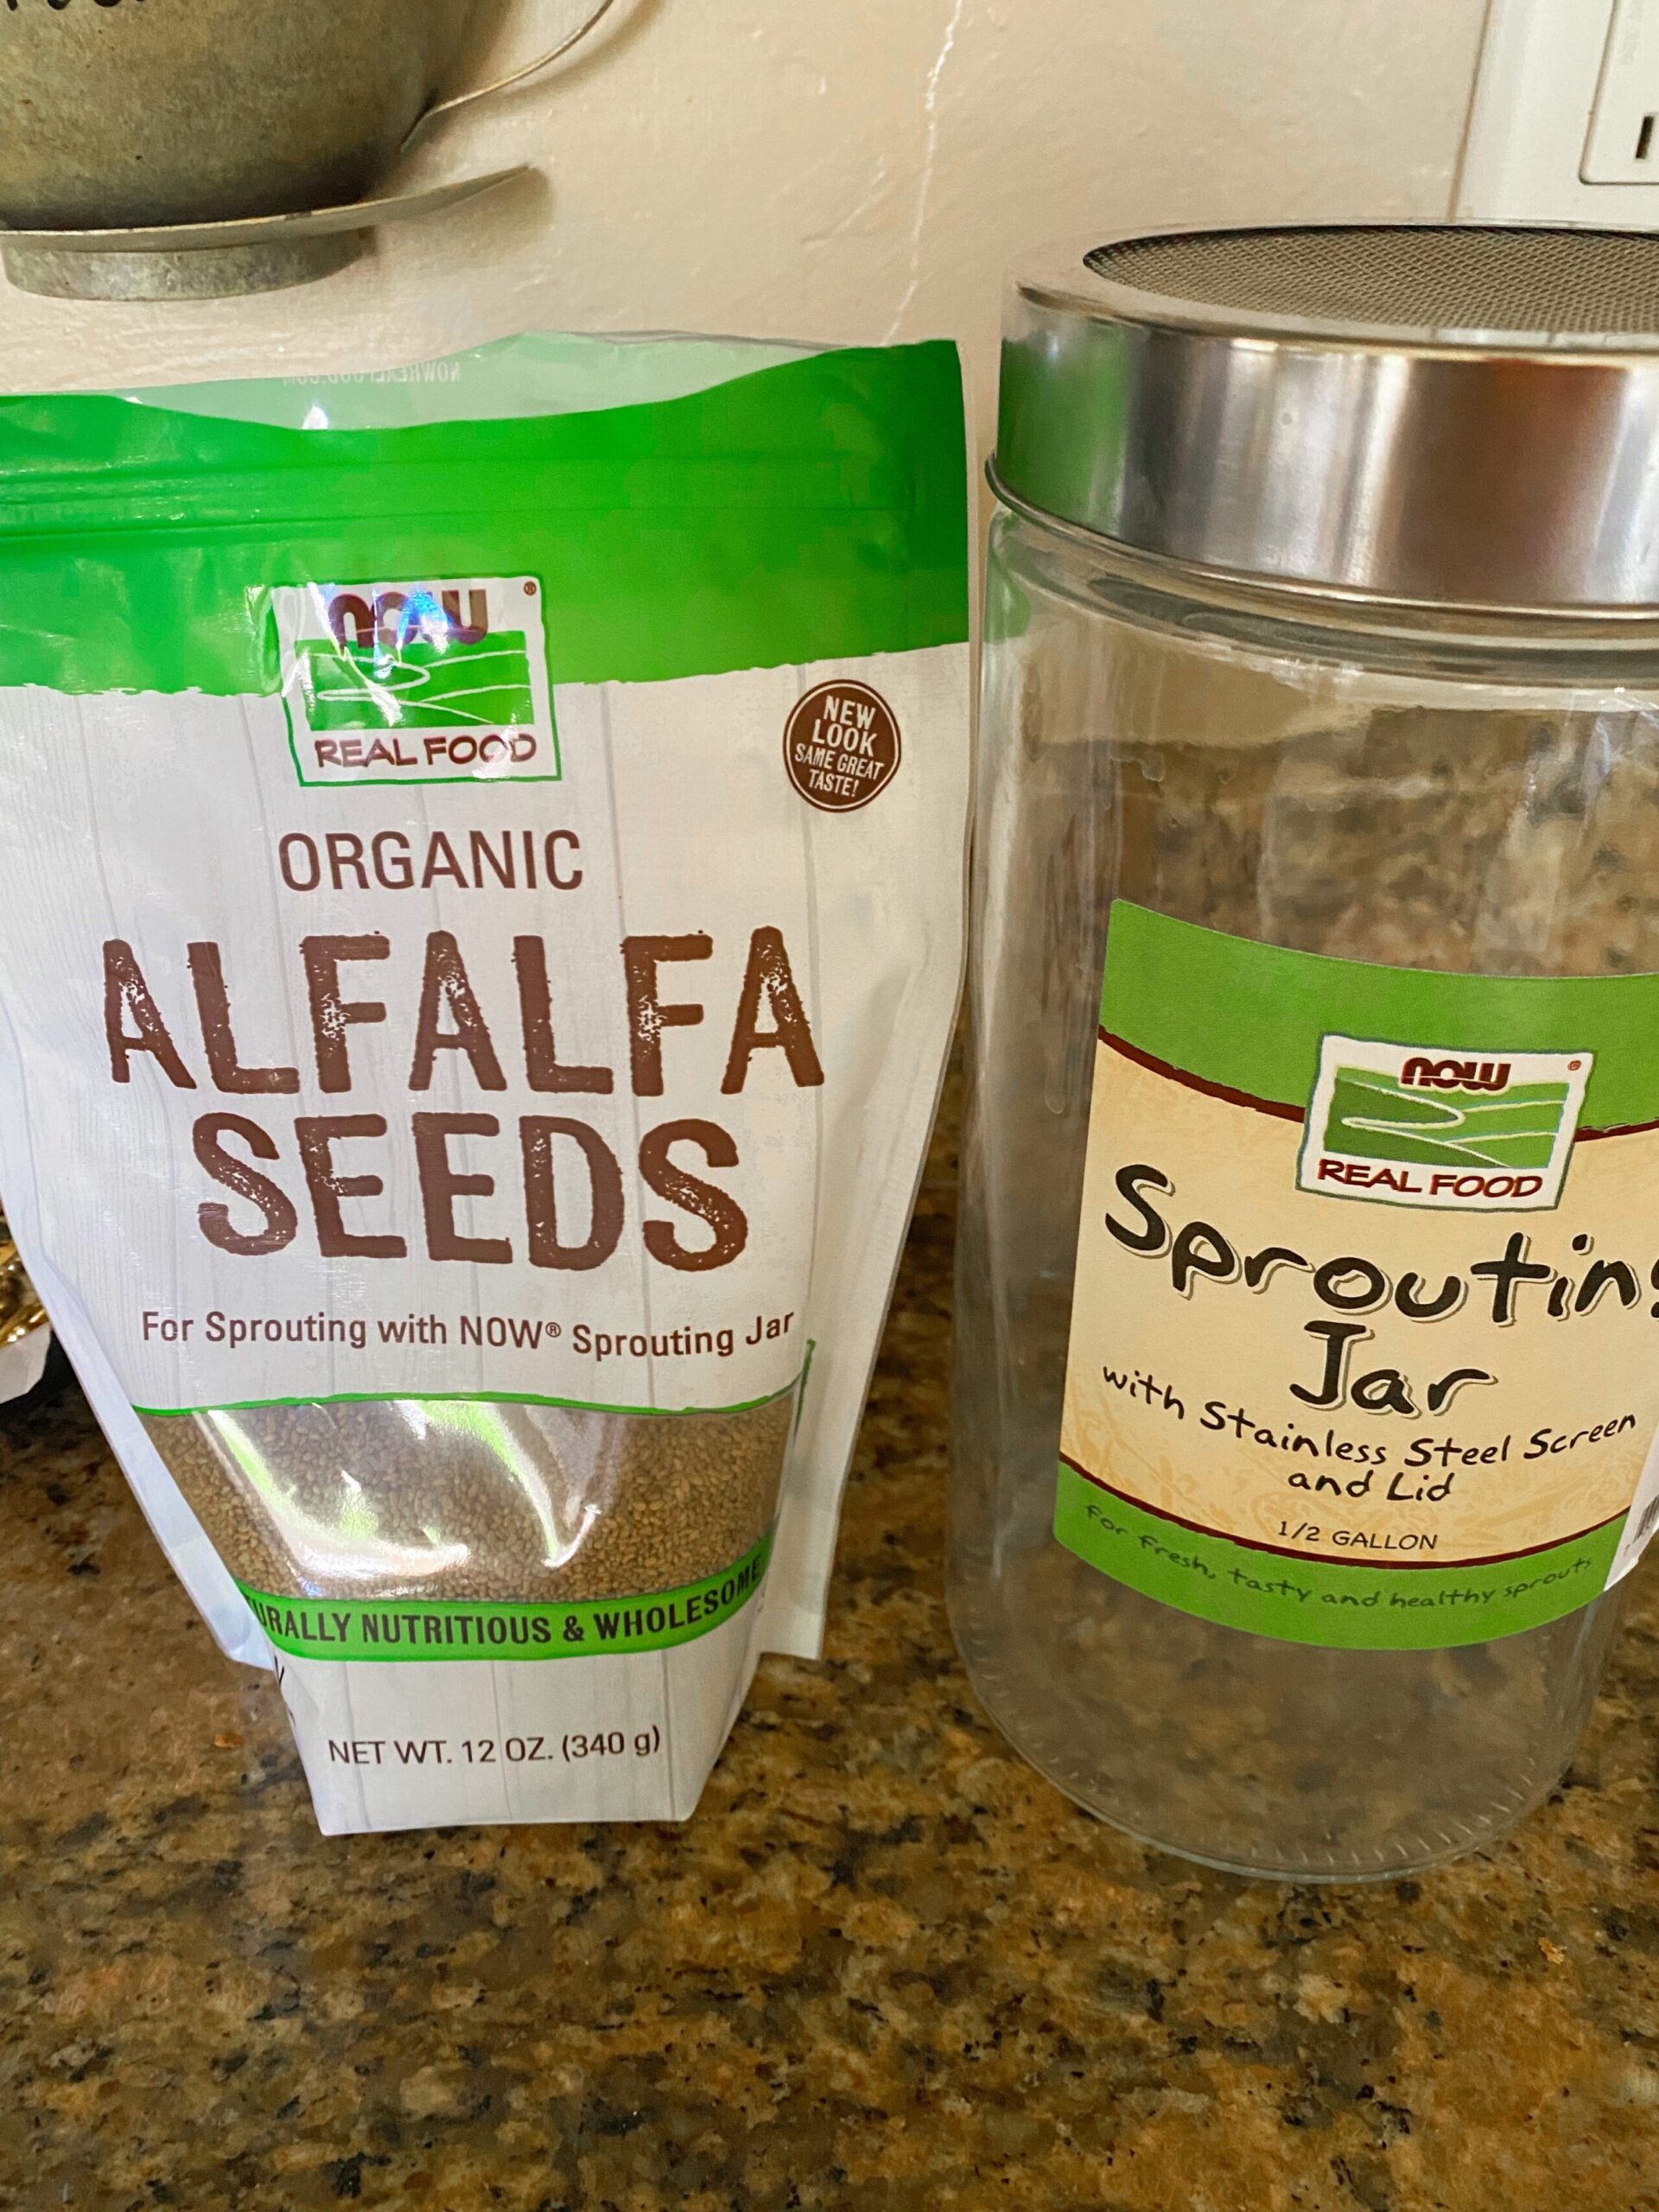
Choose your seeds or grains:
There are a wide variety of seeds and grains that can be sprouted, including alfalfa, mung beans, lentils, quinoa, and more. Choose a seed or grain that is organic and specifically labeled for sprouting. I get all of mine from NOW Foods; you can use FITNESSISTA20 for 20% off. I got my sprouting jar from NOW, too!
Rinse your seeds or grains:
Rinse your seeds or grains in cool water and remove any debris or broken pieces.
Soak your seeds or grains:
Soak your seeds or grains in a jar or bowl with cool water for several hours or overnight. The amount of time required will depend on the type of seed or grain you are using.
Drain and rinse your seeds or grains:
Drain the water from your seeds or grains and rinse them thoroughly with cool water.
Repeat:
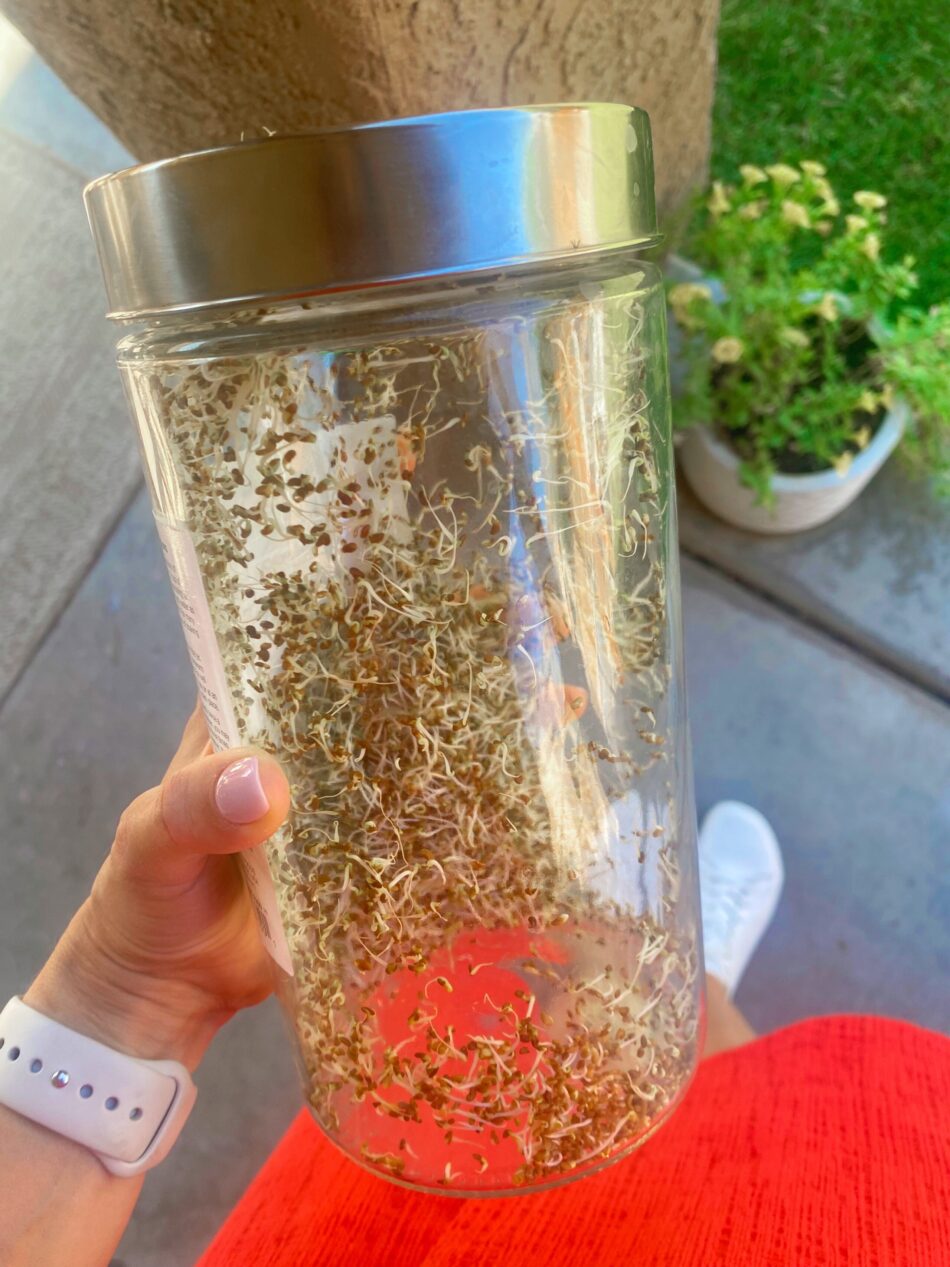
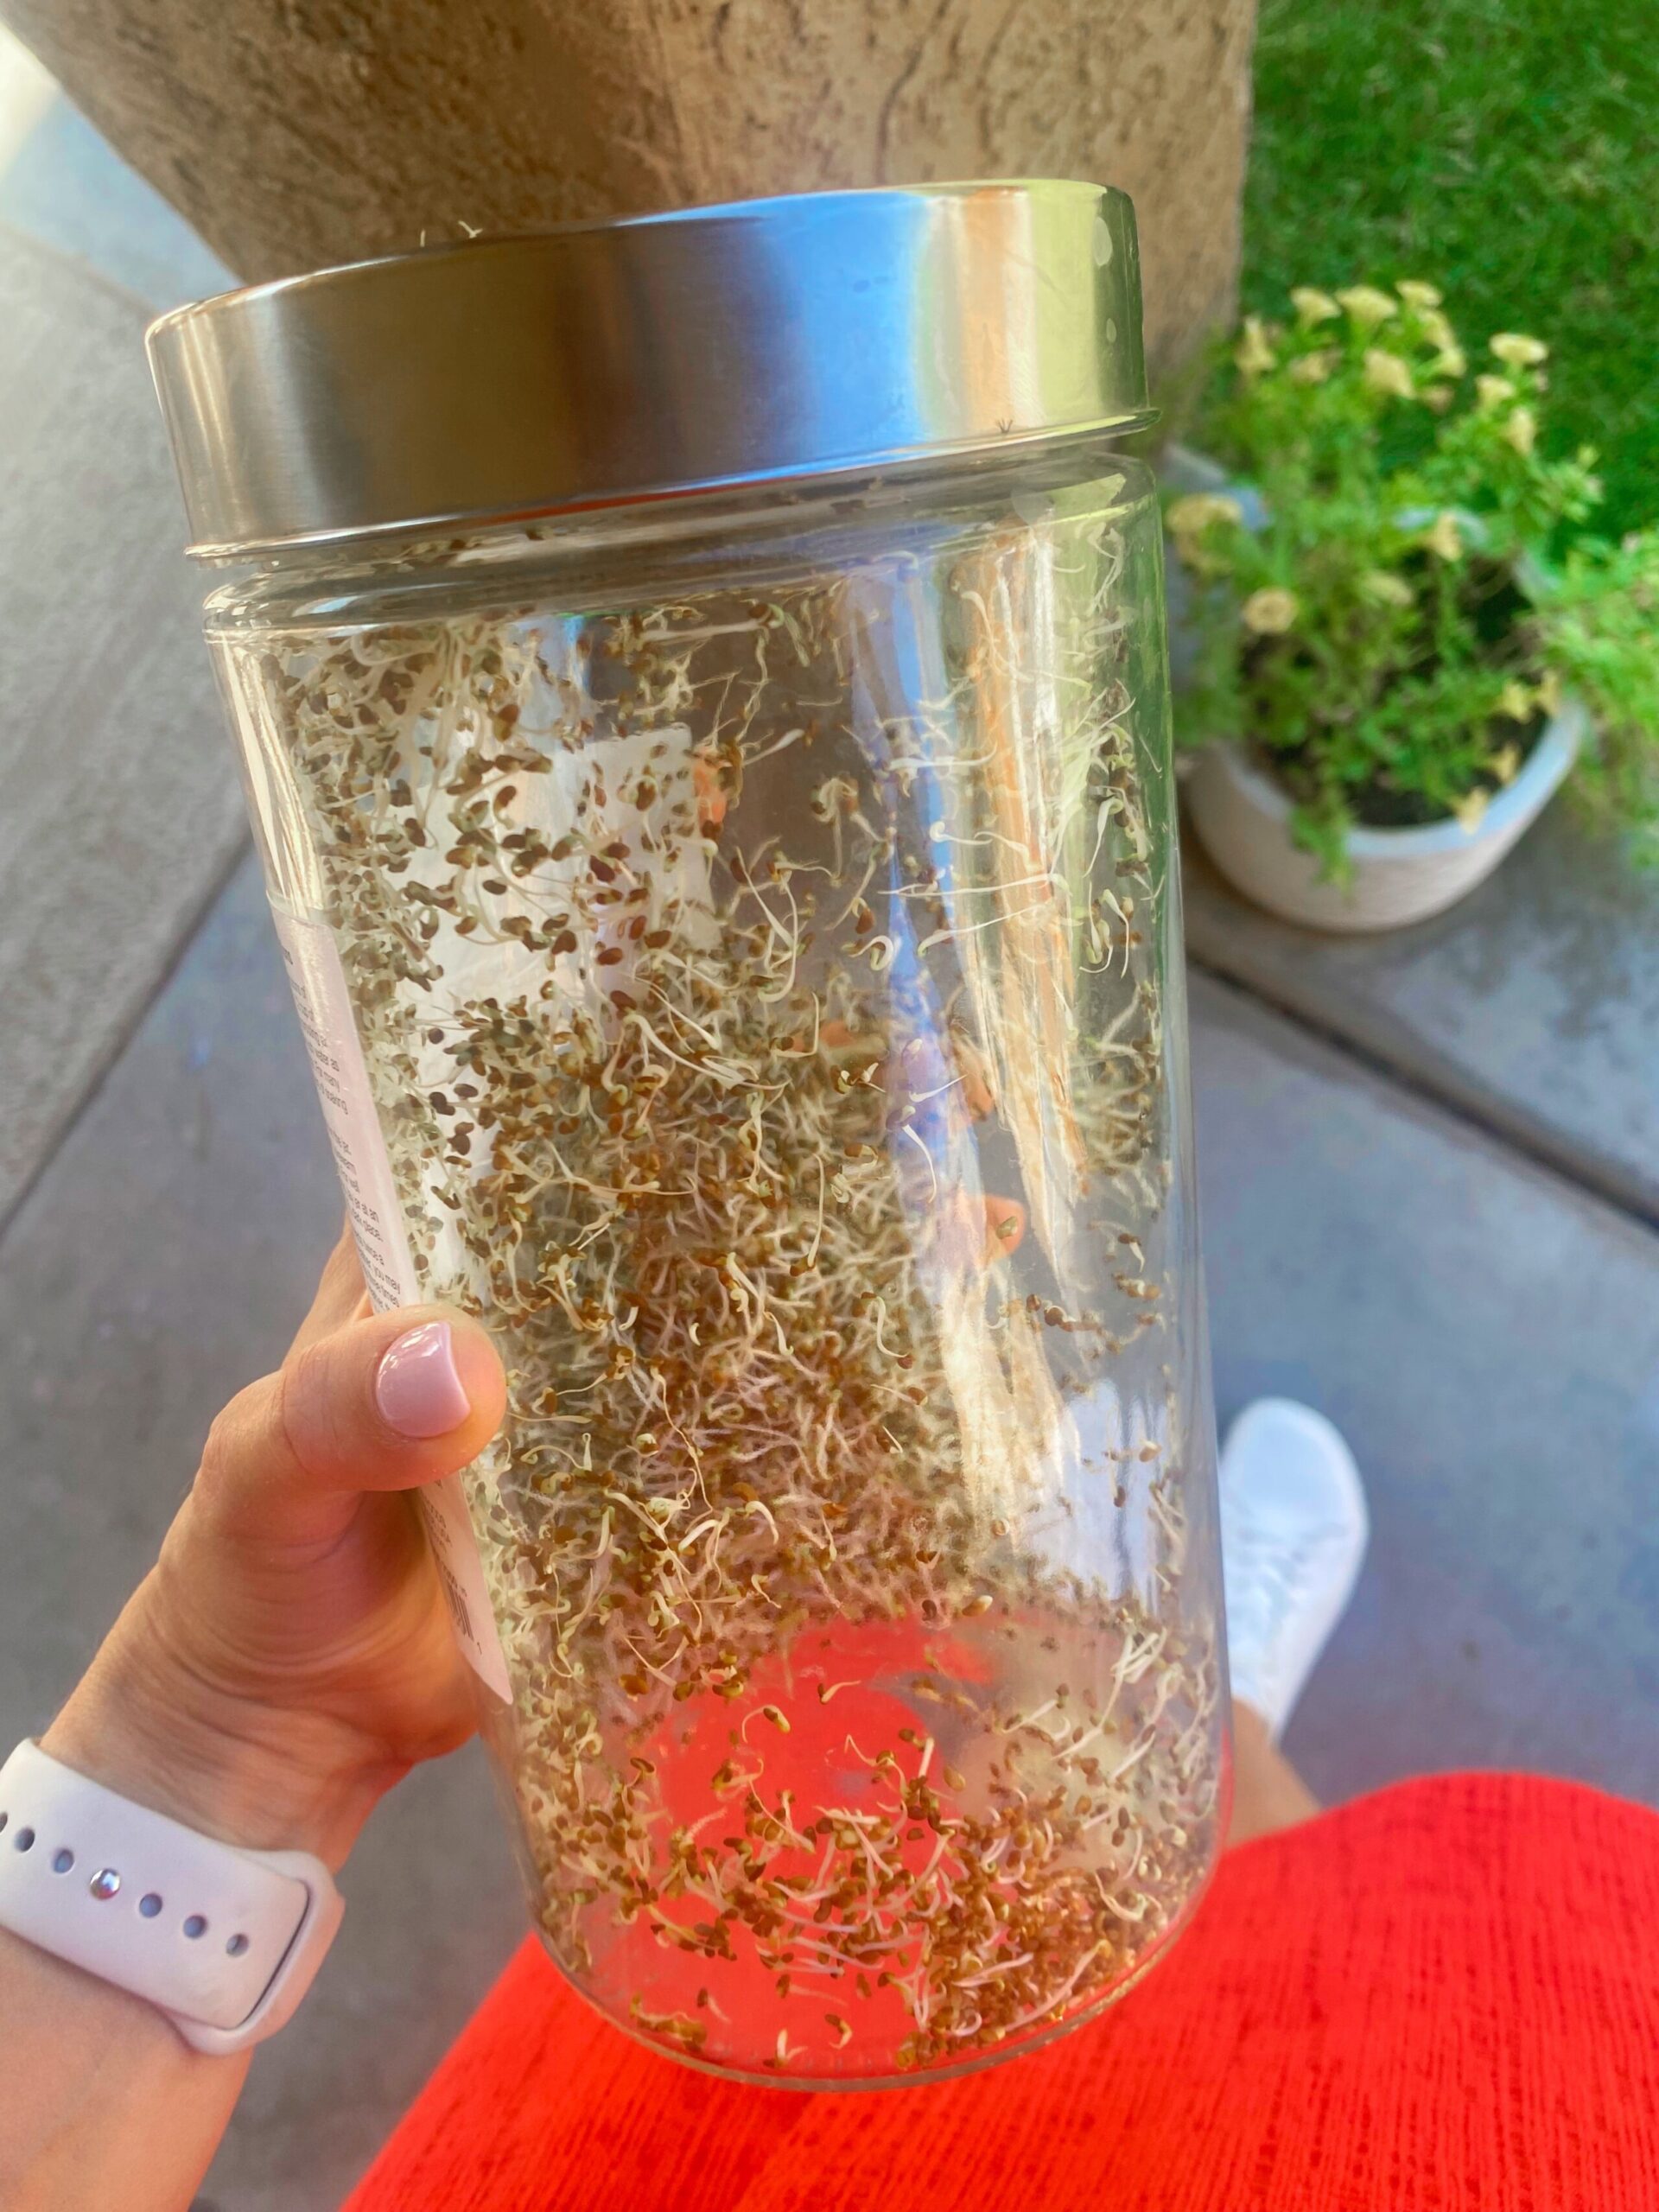
Repeat steps 3 and 4 several times a day until your seeds or grains have sprouted. This usually takes 2-7 days depending on the seed or grain. As they dry each day, I place them in the pantry, inverted onto a paper towel so they can drain all the way each day.
Store your sprouts:
Once your sprouts have grown to the desired length, rinse them once more and store them in an airtight container in the refrigerator for up to a week. If you want to add a little more *green* to your sprouts, place the jar outside in indirect sunlight for a few hours before rinsing and storing.
Benefits of Sprouting
There are many benefits to sprouting, including:
Increased Nutritional Value:
Sprouts are highly nutritious and contain vitamins, minerals, antioxidants, and enzymes that are easily absorbed by the body.
Improved Digestion:
Sprouting can improve digestion by breaking down complex carbohydrates and reducing the presence of anti-nutrients, which can interfere with nutrient absorption.
Lowered Cholesterol:
Some studies have shown that sprouts can help lower cholesterol levels, which can reduce the risk of heart disease.
Reduced Inflammation:
Sprouts are also high in antioxidants, which can help reduce inflammation and oxidative stress in the body.
In conclusion, sprouting is an easy and affordable way to increase the nutritional value of your food and they’re tasty, too 😉
Have you tried making sprouts before? Would you??
xoxo
Gina
The post How to make sprouts at home appeared first on The Fitnessista.


